Showing posts with label Create a smile. Show all posts

Friday, March 8, 2019

Hello Cloud Shaker - Doodles Paper Playground

Hello Cloud Shaker


☆☆☆☆☆☆☆☆☆☆☆☆☆


I die cut my panels, a speckled paper for the base and 
watercolor paper for my top panel.


I picked up a few of those makeup brushes and 
wanted to try blending the distress oxides, 
It worked so good!
I used Broken China and Peacock Feathers.


I flicked with some perfect pearls water. . . 


I die cut my shaker windows and I also wanted to add a cloud frame. . . 
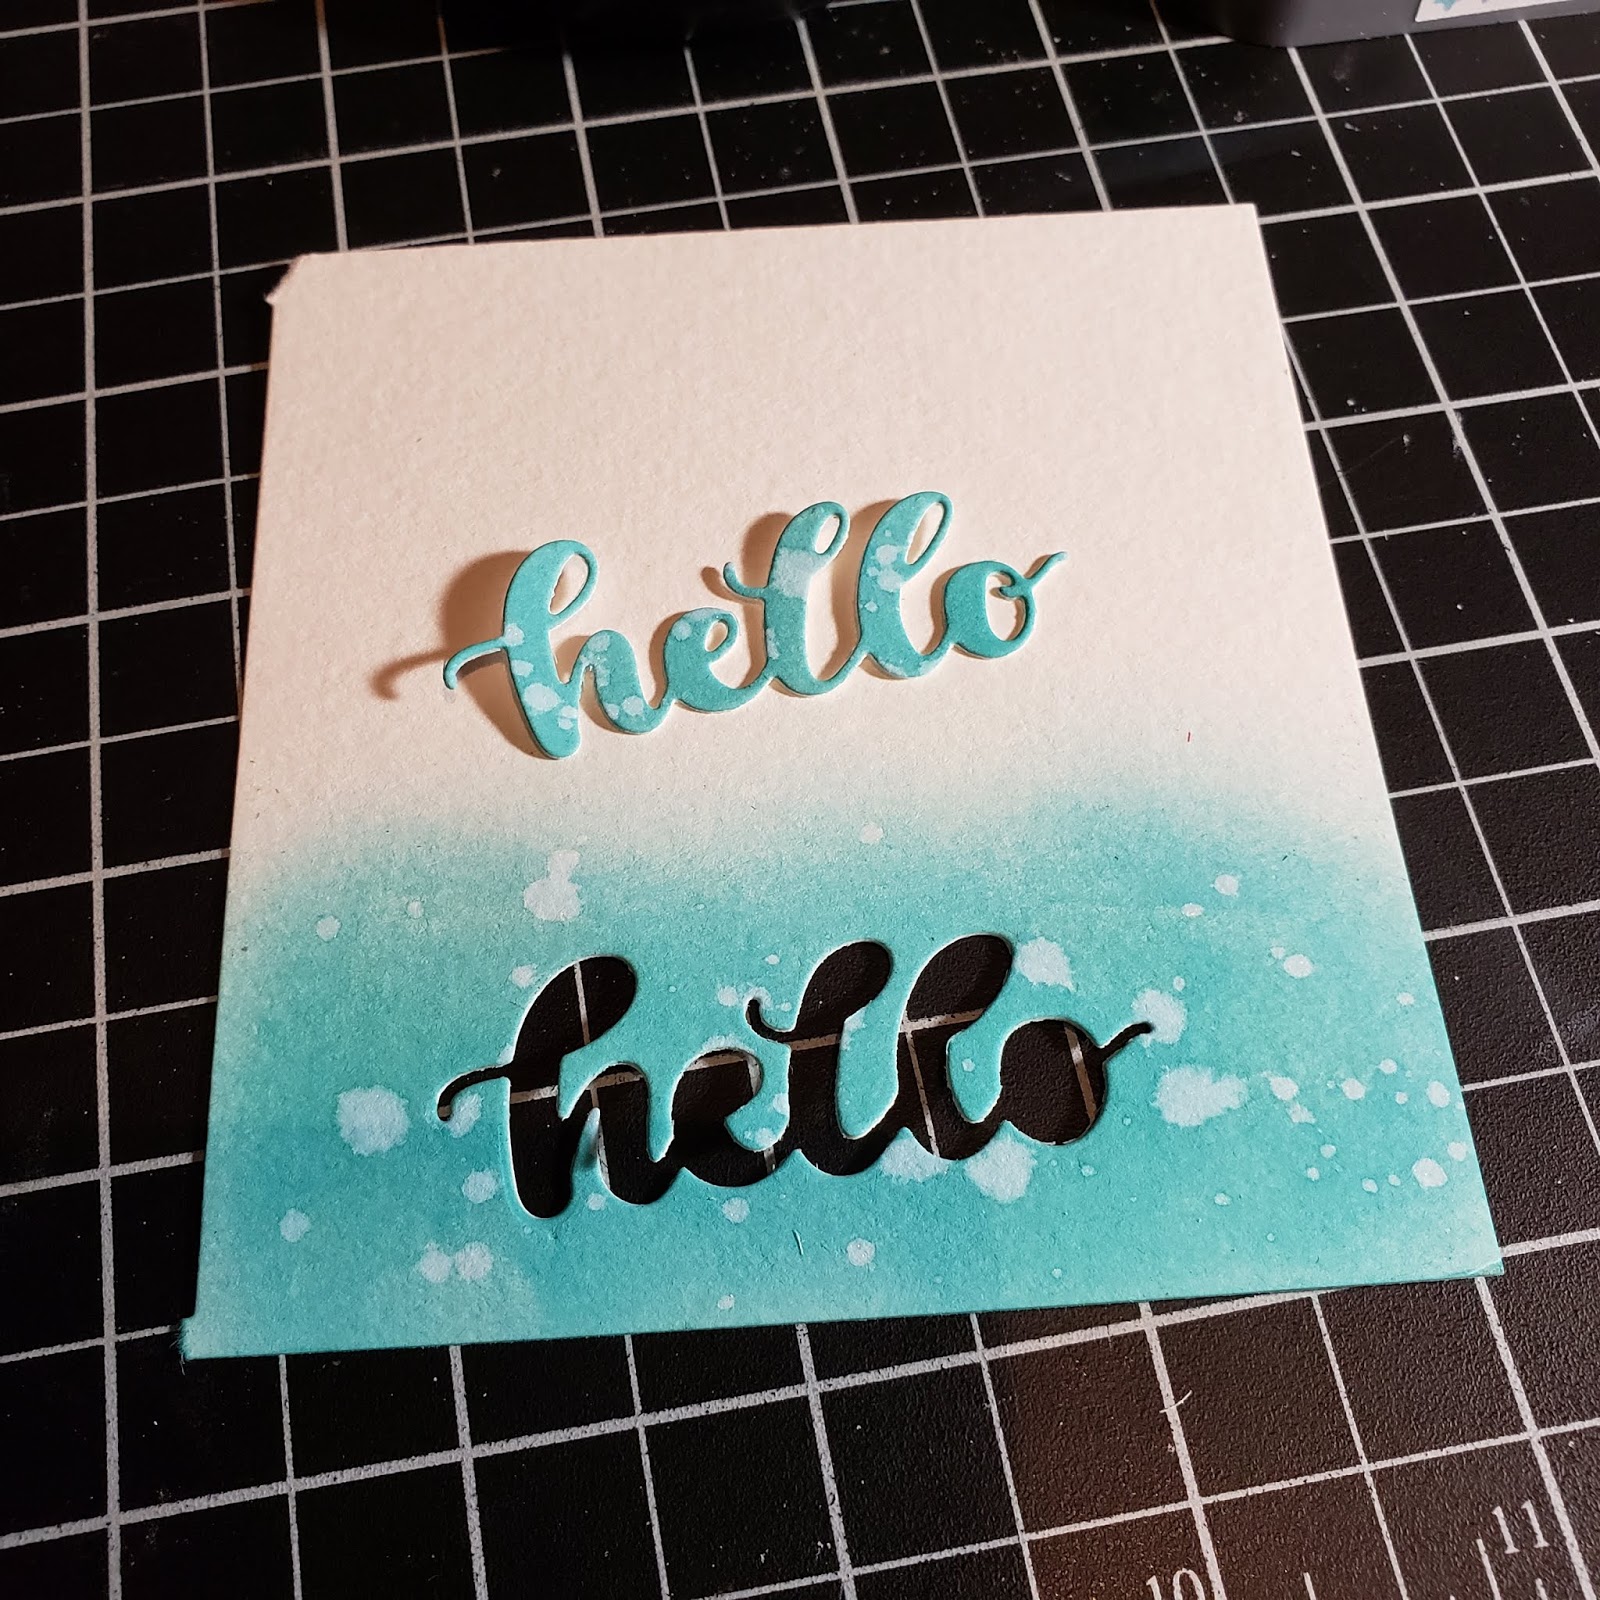

I created this colored paper for the word die cut out. . . 


I added my acetate and double layer of foam tape to the back of my card 
and laid out my sequins. . .


Added my top panel and my cloud frame and word die. . . 


I used the Icicle Sparkle blend on this card. . . 
With the silver and light teal I thought it would make a perfect cloud!

There are more great Sparkle Blends and a large assortment 
of items for all your crafty projects over at White Rose Crafts!

There is also a new Facebook group where you can share 
creations you have made with Sparkle Blends!
Come check it out, share some inspiration!


Thank you so much for stopping by!
Now, Get Out There and Create Something Amazing!!


☆ Facebook ☆ Instagram ☆ YouTube ☆

Wednesday, September 12, 2018

Thanks - Doodles Paper Playground

Thanks


☆☆☆☆☆☆☆☆☆☆☆☆☆


I decided to use this mandala stamp from Sugar Pea Designs.
I stamped it on some watercolor paper and colored it with Mission Gold watercolors.


I used black for my top panel. 
I die cut a circle in the middle, added my acetate and a double layer of foam.


I attached the base paen to the card and laid out my sequins.
Then I added the top panel.


I decided to add a foiled thanks die cut to my card.
First I used a large piece of scor-tape that I placed on the front of 
the paper I used for my die cut.
Then I removed the backing paper and placed my foil on t
op and burnished really well. . . 
It was the first time I actually did this and think that it turned out great!!!


To complete the card I added a few sequins from a couple 
other mixes, Be-leaf in Yourself and Very Cranberry, 
to match the colors of the card.


For this card I used the Sparkle Blend Fairy Dust from 
Doodles Paper Playgrounds. 

There are more great Sparkle Blends and a large assortment of items for all your crafty projects over at White Rose Crafts!

I am also entering this card in the following challenges:


Thank you so much for stopping by!
Now, Get Out There and Create Something Amazing!!


☆ Facebook ☆ Instagram ☆ YouTube ☆

Wednesday, March 14, 2018

Thanks Shaker Card - Doodles Paper Playground Sparkle Blends

Thanks Shaker Card


Yay for pre-colored images! 
This card was quick to put together!


I started by getting all my pieces die cut out. My flower is an image from Strawberry Jude stamps that I had already colored and cut, ready to go. My sentiment is a die from Create a Smile.


I added double layer of foam to my shaker window. I placed my sequins on my card front so that I could easily place my shaker panel on top. For this card I used the Green with Envy mix from Doodles Paper Playground. This mix has these little cup flowers in them that I think are just so cute!! It also has like four different fimo shapes in it which I love!


I put my image to the side so that all my pretty sequins could be seen and added my sentiment to the top.

I love how this card looks, I love the green sequins on the blue back ground and the yellow sentiment, that all get tied together with the blue and yellow flowers!


Pick up your own pack of Sparkle Blends at www.whiterosecraftsllc.com 

There are more great Sparkle Blends and a large assortment of items for all your crafty projects!

Thank you so much for stopping by!
Now, Get Out There and Create Something Amazing!! 


Tuesday, August 15, 2017

Sunflower Thanks

Sunflower Thanks


This card was super easy to create and I think it looks great!

I used the Hello Sunflower stamp set from Strawberry Jude Stamps. I stamped it in the corner of a watercolor panel. Then I used yellow and painted all around the image and then used just water to pull the paint out to cover the panel to get a gradient effect.

After it dried I added a thank you die cut and some clear raindrops.

Thank you for stopping by!

Now, Get Out There and Create Something Amazing!! 


Friday, July 21, 2017

Thanks Card - Zig Clean Color Real Brush Markers - Halo Watercolor Background

Thanks


I was perusing YouTube and came across this video by Kathy from the Daily Marker and her super cute halo water coloring. . . .  I was instantly inspired so decided to do a card of my own!

I started by cutting my base panel out of some Canson Watercolor paper. I used the Be Still Peonies from Strawberry Jude Stamps for my image. I started by masking of my stamp and stamping part of the smaller stamp, layered the smaller stamp on top of that and then added the large stamp to the side. I don't do a lot of masking with my stamping so I was really glad that this turned out as it did. 

I used my Zig clean color real brush markers and a water brush to color the image first. Then I created the halo effect. . . . my image was kinda of all in one place so I faded the color out instead of filling in my whole card. 

For my sentiment I used a die from Create a Smile. . . It is one of my favorites. I also die cut it out of watercolor paper and used the same marker that I used for my halo so that it would match perfectly. I did a water wash over it so that it wouldn't be to dark. 

I added Wink of Stella to the flowers and to my sentiment and finished the card with a few sequins.

I love how this card turned out, I absolutely love it!

I will be entering this card in the following challenges:


Now, Get Out There and Create Something Amazing!!

Tuesday, May 23, 2017

Thanks

Thanks


I made this card for my friend to give out as thank you cards for her baby shower.

I stamped the stork from LF PLus One set with Copic friendly ink, colored it and die cut it out.I used the Thanks Twice die from Create a Smile for my word. 

I cut my white base panel with the second largest Lawn Fawn stitched rectangle die and used a cloud embossing folder on it. I attached it to a pink card base and then added my stork and word.

Super easy, good thing since I have quite a few more to make!

I am entering this card in the following challenges:


Thank you so much for stopping by!

Now, Get Out There and Create Something Amazing!! 


Saturday, October 29, 2016

Thanks A Bushel

Thanks A Bushel!


I started this card off with a base panel of some orange "handmade" paper. . . Obviously I did not hand make it but the name of the paper pack I bough is Handmade. It has that great handmade texture to it and thought it would help my card not be so flat. I picked a piece from the Lawn Fawn Perfectly Plaid Fall paper pack for my next panel.


I stamped the image from LF Thanks A Bushel set on some watercolr paper and colored it with distress inks. I also added some red splatter to the watercolor square, I have a huge problem leaving white space! I stamped part of my sentiment in LF chili pepper ink.


I had this red glitter adhhesive paper that I thought would be great for the beginning of my sentiment. I used a Create a Smile Thanks die, I love this die so much!


I used a YNS Star Scallop border die, for the row of cut out stars on the right, I also love this die so much!!!!

So thats it! This card turned out super great! I might end up making a few more and turning it into a thank you card set. . . . 

I am entering this card in the folowing challenges:


Thanks for stopping by!

Now, Get Out There and Create Something Amazing!! 
 Fawn